Tie-Dye: The Ultimate Guide to Creating Unique Designs on Your Clothes

You've surely seen it everywhere: on t-shirts, sweatshirts, socks, and even face masks. Tie-dye, that explosion of color and psychedelic patterns that transports us to the 60s and 70s, is back stronger than ever. But do you know what it is exactly and how easy it is to do it yourself at home? Far from being a passing fad, it's an incredibly fun and creative way to give new life to basic garments.
In this complete guide, we'll explain what tie-dye is and how to do it step by step. From the classic colorful spiral to the daring bleach technique, we'll give you all the tricks to become a true textile artist.
What Is Tie-Dye? The Art of Tying and Dyeing
The term "tie-dye" literally means "to tie and to dye." The basis of this technique is very simple: the fabric is manipulated (by folding, crumpling, twisting) and secured with rubber bands or strings before applying the dye. The areas that are tightly bound and protected by the bands resist the penetration of color, thus creating the characteristic abstract patterns and defined lines. Each piece is unique and unrepeatable, and that's part of its magic!
Materials You'll Need to Get Started
Before you start creating, gather these basic materials:
- The Garment: T-shirts, sweatshirts, socks, or tote bags. Natural fibers like 100% cotton are the best choice as they absorb dye wonderfully. For a perfect canvas, it's essential to wash white clothes correctly before starting.
- Fabric Dyes: You can find them in special tie-dye kits that already include colors and applicator bottles.
- Rubber Bands or Strong Thread: To tie the garment and create the patterns.
- Plastic Squeeze Bottles: To mix and apply the dyes with precision.
- Rubber Gloves: Essential to avoid ending up with dyed hands!
- Plastic Zip-Top Bags or Plastic Wrap: To wrap the garment while the dye sets.
- Protected Work Surface: Cover your table with plastic or work over a rack in a sink.
How to Do Classic Tie-Dye: Step-by-Step Guide
Let's go over the general process and some of the most popular patterns.
Step 1: Prepare the Garment
Wash your garment, even if it's new, to remove any factory residues. Do not use fabric softener. For the best results, the fabric should be damp, but not dripping wet. Wring it out well before you start tying.
Step 2: Tie Your Favorite Design
This is where the fun begins. There are endless possibilities, but these three are perfect for beginners:
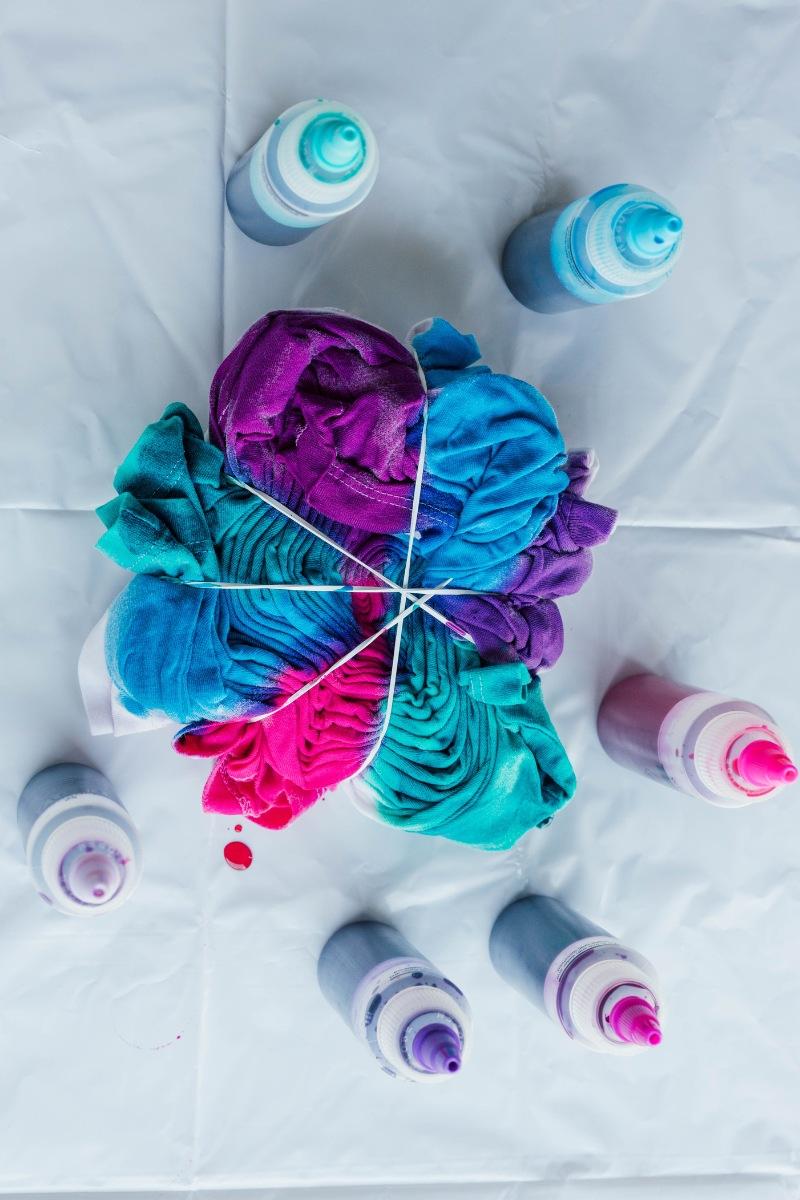
- The Spiral: Lay the damp t-shirt flat on a surface. Pinch the center (or wherever you want the spiral to start) and begin twisting the fabric around itself until it forms a compact disc. Secure it with 3 or 4 rubber bands, crossing them over the center to create "pizza slices."
- Stripes (Accordion): Fold the garment like an accordion, either horizontally, vertically, or diagonally. Tie rubber bands along the "tube" of fabric, leaving whatever spacing you desire between them.
- Crumple: The easiest technique! Simply crumple the garment randomly into a ball and wrap it with rubber bands to hold its shape.
Step 3: Time to Dye!
Put on your gloves and prepare the dyes according to the manufacturer's instructions. Apply the colors to the different sections created by the rubber bands. You can dye each section a different color or alternate them. Make sure the dye penetrates deep into the folds.
Step 4: Resting is Key
Once dyed, place the garment in a plastic zip-top bag or wrap it in plastic wrap. This keeps it moist and helps the dye set. Let it rest for 6 to 8 hours, although for more intense colors, you can leave it for up to 24 hours.
Step 5: The Big Reveal and Washing
With gloves on, take the garment out of the bag and bring it to the sink. Without removing the rubber bands, rinse it with cold water until the water runs almost clear. Then, remove the bands and admire your creation. Continue rinsing a little more. Finally, put it in the washing machine by itself for a cold water cycle. If you're worried it might stain other clothes in future washes, check out our tips on what to do about color bleeding on clothes.
Creative Alternative: How to Tie-Dye with Bleach
Bleach tie-dye (also known as "reverse tie-dye") is a great technique for revamping dark clothing. Instead of adding color, we remove it.
- Choose the Garment: It works best on dark cotton garments (black, navy, maroon, green...).
- Prepare Safely: This step is crucial. Work in a well-ventilated area or outdoors. Wear gloves and protective goggles.
- Tie the Design: Follow the same tying techniques as classic tie-dye (spiral, crumple, etc.).
- Apply the Bleach: Mix equal parts bleach and water (50/50) in a squeeze bottle. Apply the mixture to the tied garment.
- Watch the Process: Bleach works fast! You'll see the color start to change in minutes. Black will turn orange or reddish, blue will lighten... Don't leave it for more than 10-15 minutes to avoid damaging the fabric. If you want more tips for using bleach safely, check out our post.
- Rinse and Wash Immediately: Rinse thoroughly with cold water to completely stop the chemical reaction. Then, wash the garment alone in the washing machine.
Frequently Asked Questions about Tie-Dye
What exactly is the tie-dye technique?
Tie-dye means 'to tie and to dye'. It is a printing technique where a garment is folded, tied, or twisted before applying dyes. The tied areas prevent the dye from penetrating, creating psychedelic and unique patterns when untied.
Can you tie-dye with bleach?
Yes, it's known as 'reverse tie-dye'. Instead of adding color, a diluted bleach solution is used to remove color from a dark garment. The tying process is the same, but the result is a faded design in lighter shades.
What type of clothing is best for tie-dye?
Natural fibers like 100% cotton are the best for tie-dye as they absorb the dye vibrantly and evenly. Linen, rayon, or viscose also work well. Synthetic fabrics like polyester usually do not hold the dye well.
How do I prevent my tie-dye clothes from bleeding in the wash?
To set the color, rinse the garment in cold water until it runs clear. Then, do the first wash in the washing machine with only the dyed item, using cold water. In subsequent washes, wash it with similar colors to prevent accidents.
Now that you know all the secrets, it's time to experiment! Tie-dye has no fixed rules, so mix colors, try new patterns, and above all, have fun unleashing your creativity.
Other Articles You Might Find Interesting

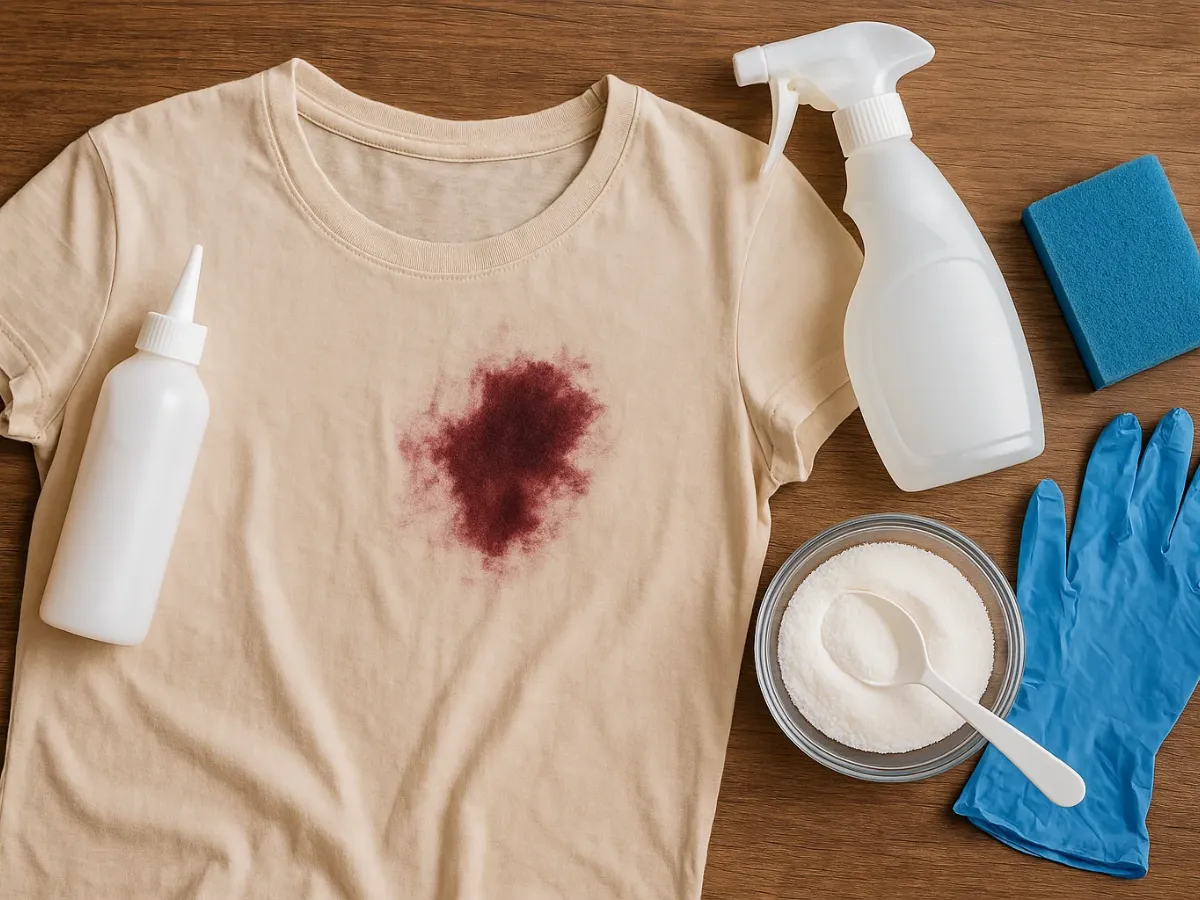
How to Fix Color Bleeding on Clothes
A guide to fixing laundry accidents and recovering your mistakenly dyed garments.
How to Remove Hair Dye Stains from Clothes (and more!)
Effective solutions for removing dye stains from different fabrics.
How to Restore the Whiteness of Clothes
Prepare your garments for dyeing or restore their original brightness with these tips.